Saturday, 19 November 2016

My longest ride 60 km

Been doing my 30k average rides for a while now.
The year end weather hasn't been helpful with rain on most Sat morning.
Today was the same, except the afternoon was cloudy/overcast, good for a trip out.

I try to utilise the PCN (Park Connector Network) where it is safer to ride without the traffic.
Of late, there has been lots of road accidents involving cyclists.

Click image for larger view


Journey started from Bartley road / Braddell road
Kallang PCN - after Comfot Delgro building
Kallang Riverside Park
Passed F1 Pit Building
The Float at Marine Bay, crossed the bridge along Bayfront Avenue
Gardens By The Bay to Marina Barrage
East Coast Park
Changi Coastal PCN
Changi Point PCN
Late lunch at Changi Village
Loyang PCN
Pasir Ris PCN
Lor Halus (Though Halus Bridge)
Punggol Promenade PCN
Serangoon PCN
Lorong Ah Soo

Total 60 km in about 5 hours

Thanks to the Brooks Saddle, butts ok during the long cycle.

The Float at Marina Bay

The Float at Marina Bay

After Marina Barrage

Changi Coastal PCN 

Changi Coastal PCN


Changi Point PCN

Changi Village (Late Lunch)

It has been a satisfying ride. The last time i rode, i had to retire at about 45km when my left leg's IB (Iliotibial Band) swell so bad.


Thats me at Gardens by the Bay

Changi Village Ferry


Saturday, 3 September 2016

Arrest that slippery seat post! - Simple, cheap mod

My bum acts as a hammer over unduly ground when i cycle.

The seat post gets pounded lower and lower.

My legs now does not extend fully and my knees hurt.

Arrest that slippery seat post!

Its a simple heavy host clamp that costs $2.60
The copper washer is used to protect the plastic seat post shim, preventing the clamp edge to cut.


The final look.


DIY Brass Bell

Though i needed a bell just to alert fellow cyclists and pedestrians.

I found the Sögreni Bell an inspiration because it is classy and simple. Appeals to the engineer in me.


The holder is a 1" pipe clamp with a M6 threaded hole.

The other stuff like brass cap (for the bell), spring, allen cap bolt (striker), rubber washers and M6 bolt, nuts are salvaged from my workshop.


Here's the sound


Sunday, 14 August 2016

Cassette mod required from a 10 speed to 7 speed

As i discovered, the cassette spline has different widths.
However, a thinner width cassette can still mount onto one that is designed for 10 speed if a lower speed cassette is used.

Here are the parts of a wheel


I got these used rims without the cassette.
These rims were used to mount on a Tern 10 speed.


I was looking for a 7 speed cassette to mount as my rear derailleur supported up to 7 speed.

Even though my shifter is now 6 speed, i have the option to upgrade the shifter to 7 speed.

Currently i have access from 11, 13, 15, 18, 21, 24 and reserve the 28T for next time.

The said cassette is a Shimano CS-HG41-7 (HG for Hyperglide)


As I discovered, the 10 speed cassette total width is thicker, so a spacer is needed to position the cassette properly.


I fabricated a spacer out of aluminum and filed tooth spaces to suit the splines.

Also because the cassette has 2 rivets, a recess is needed for the spacer to sit flushed.


As i discovered, my 2.5mm was still a little slack which allowed play on the cassette.
A 0.2mm shim ring is added on to close up this difference.

Now why didn't i go with 10 speed cassette?
To do that, i needed to upgrade the chain. But I don't want to do that now.

I hope this info benefits you the reader.

Thanks for reading.


Saturday, 6 August 2016

Folding Bike Upgrade: Magnetic holds


 Folding upgrade with hard disk magnets (Free)

Held in place with cable ties.


Sunday, 31 July 2016

Bottom Bracket & Crank Upgrade, Chain Extension

Here i will provide the other information that is missing...What is the size of the Crank Arm Fixing Bolt?

For now, read on!


Parts upgraded in this page

  1. Bottom Bracket Upgrade
  2. Crank Upgrade
  3. Chain Extension


Bottom Bracket Upgrade

This Bottom Bracket is ordered from Chain reactions UK, including postage it costs £18.99
It arrived in about 3 weeks.

Well, i did it because the Pound vs SGD was low at 1.79

I chose to use square taper ones because it is available cheaply compared to hollowtech ones where more parts are available on the second hand market.


The crank arms have to be removed to measure the end to end length of this new bracket.
For the Tahara, it is Dia 68 x L118 mm British thread.

http://www.chainreactioncycles.com/sg/en/shimano-un55-square-taper-bottom-bracket/rp-prod71369

Measure your existing crank length 'L' (See below)


Installation

To install, you would need 2 tools
a. Crank puller for S$3.45
b. Bottom bracket tool for S$3.10

Both can be bought cheaply and even cheaper than carousell.
From Ebay, these are sold from Hong Kong / China and price includes postage to Singapore.


Of course you will need a 14mm box spanner to remove the old crank and bottom bracket.

Here comes the important info that i mentioned above.

What is the size of the crank arm fixing bolt Y15507000?

Its M8 x 1.0 x L25mm
To use the L25, flat washers and spring washers would be needed else the bolt would be too long.

Bolt shops sell the high tensile ones for $1 each.

Remember to grease the threads before installation to prevent rust and seizure over time.

Crank Upgrade


Upgrade crank from 42T to 52T


Chain Extension

The upgrade of the crank needed the chain to be longer. Hence i joint the KMC chains with the stock chain and trim to required length. Joining with the KMC missing links. I could do so only because they are the same thickness. The excess chains are trimmed off with my DIY chain breaker.

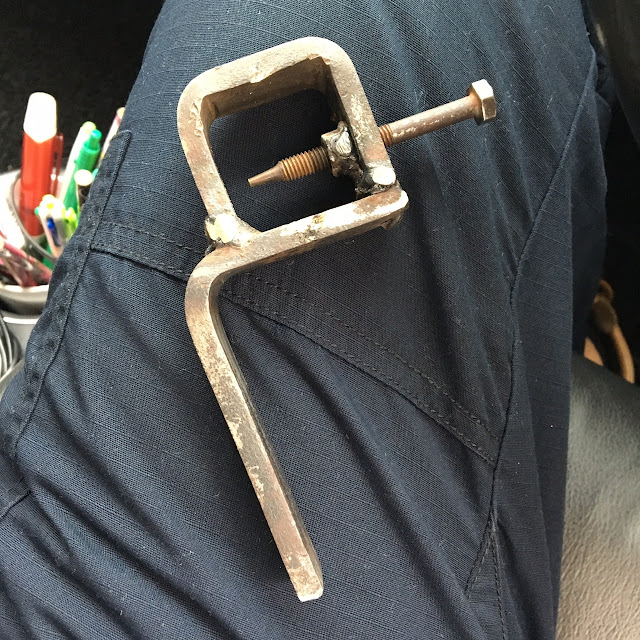
Diy Chain breaker (DIY)


Folding Stem Upgrade - Version 2

Version 2 Upgrade

This second upgrade came about when i found a second hand folding stem.
An adapter is needed for holding the fork in order for the new stem to be used.

This used folding stem costs $30

I like it because it is rigid enough to prevent unnecessary flexing.


Here's the Quill Stem Adapter that was fabricated along with an extended cap screw.
Its made of 304 stainless steel. Costs $9 exclude fabrication which is my own.


(Above) The quill stem is a bit 'too heavy duty'. I could have removed more material to make its weight lighter.


Th quill stem can be purchased but the joy comes from DIY.


From this DIY, I made a collar on the quill stem to prevent the stem from slipping through.


At this point, I lack a handle bar for the complete set up.

Folding Stem Upgrade - Version 1

Here is the stock stem.

It has a folded collar. After repeated flexing, the thin metal gives way and bends.
The locking mechanism is also crappy.


Version 1 Upgrade

Here is the first mod by cutting away the bottom pipe which is used to secure the stem to the fork by friction angled nut. Two flanges are brazed onto the existing telescopic pipe and stainless steel cap nut is used for securing them together.


(Above) Top handle


(Above) Lower stem


The disadvantage is having to keep an allen key around to remove the cap screws in order to separate the stem when folded.